Bring the classroom home with easy science experiments for kids! Your kids will love the opportunity to get hands on and have some fun testing these awesome and colorful experiments out. All of the following science experiments are made for kids and are fairly easy to execute. It’s a great way to teach kids about scientific reactions and chemistry. For the most part, you probably have most of the ingredients on hand as well! Check out our post on homemade playdough for kids for more fun playtime ideas.
Magic Milk Experiment
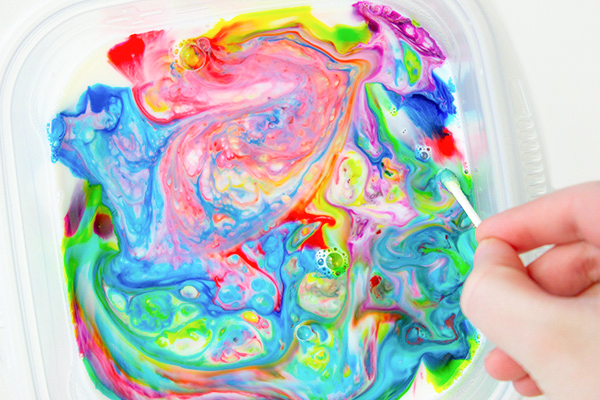
This at home science experiment is more like an art project than science! Your kids will be amazed by the colorful reaction you can produce with the magic milk experiment.
Messiness Level: Low
Difficulty Level: Easy!
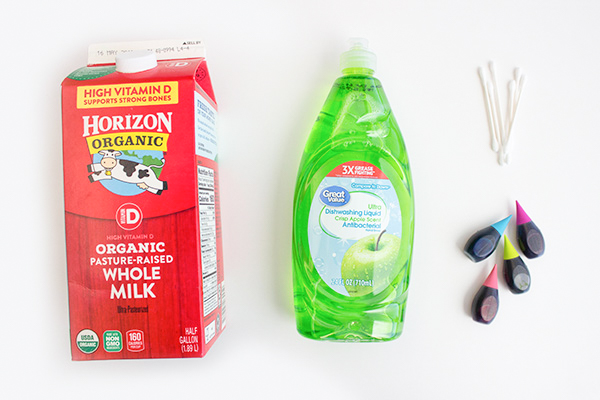
What You’ll Need:
- Milk- any kind of milk will work, we used whole milk
- Dishwashing liquid
- Cotton swabs
- Food coloring
- A tupperware or container with side to perform the experiment in
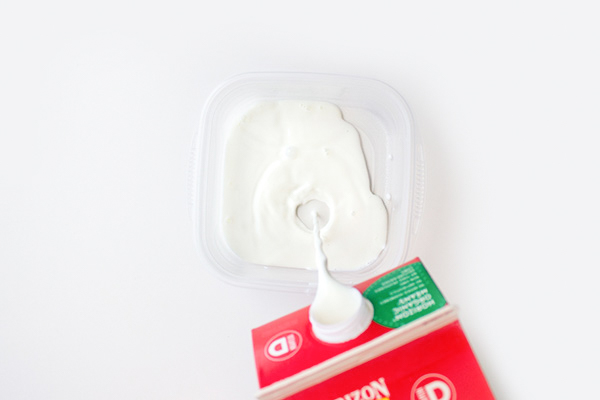
1. After laying out all of your ingredients, pour a thin layer of your milk into the container. It doesn’t have to be super deep, you just want the milk to cover the bottom of the pan.
2. Next, drop in different colors of your food coloring. Make sure to use a variety of colors to produce the reaction.
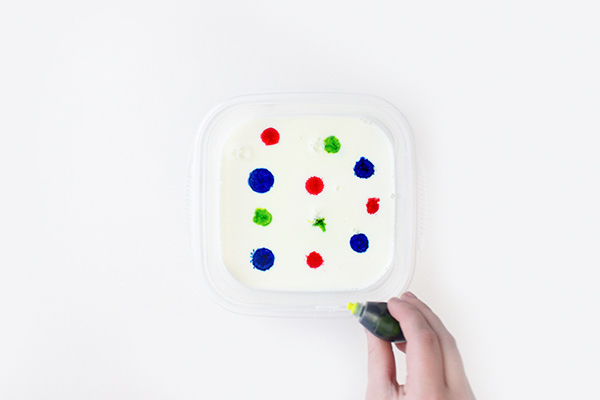
3. Once you have your food coloring in the pattern you want, take your cotton swab and dip it into your dishwashing liquid. Make sure the whole cotton tip is coated.
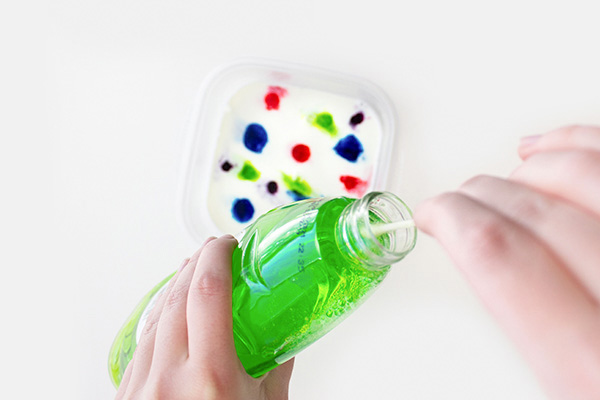
4. Dip your cotton swab straight into the milk, and hold it there for ten seconds. You will immediately begin to see a reaction.
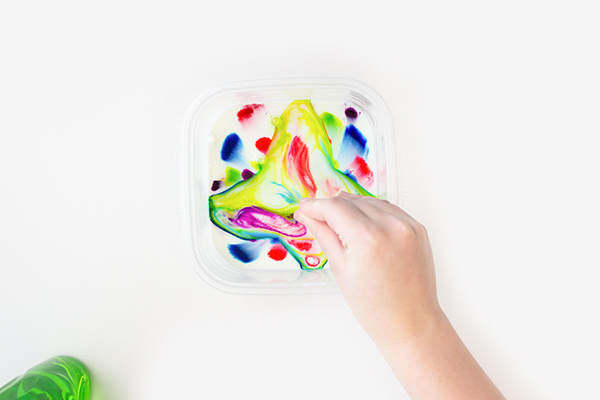
5. Continue to dip your cotton swab into various points of the container, creating your masterpiece. Get a clean cotton swab and dip it in the dishwasher liquid each time you dip it back into the container.
Lemon Volcano
Messiness Level: High
Difficultly Level: Medium
What You’ll Need:
- Baking Soda
- Food Coloring
- Dishwasher liquid
- Craft Sticks
- 2 or more Lemons
1. Lay out your ingredients. Have a plate and some paper towels on hand in case things get a little messy!
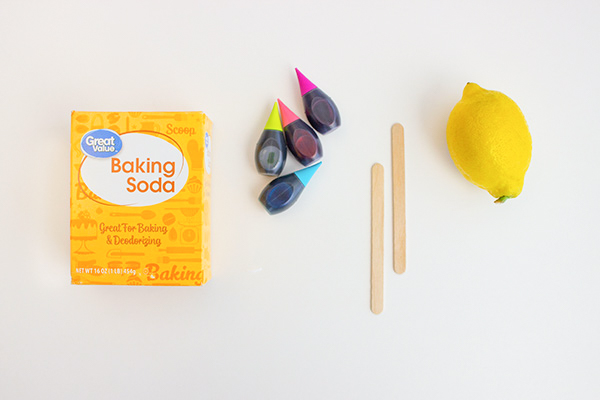
2. Cut your lemons into halves. You want to cut them down the center- not from end to end. This will give you thicker lemon halves, and this will maximize your volcano’s reaction.
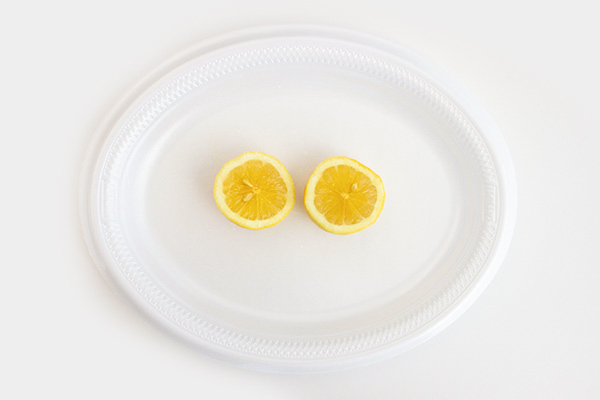
3. Take your craft stick, and poke holes in each section of the lemon.
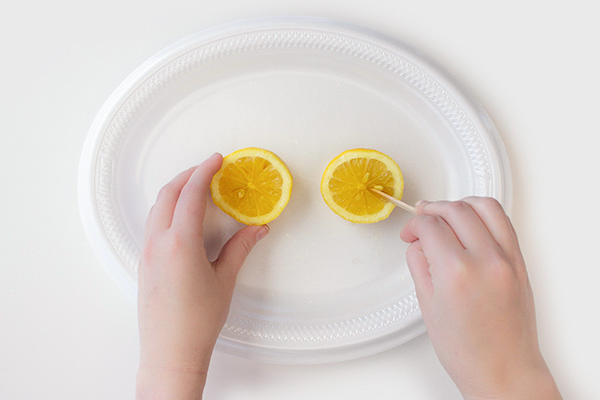
4. Next, drop your food coloring into the holes you’ve poked in the lemon. The more colors you drop in, the more colorful your reaction will be.
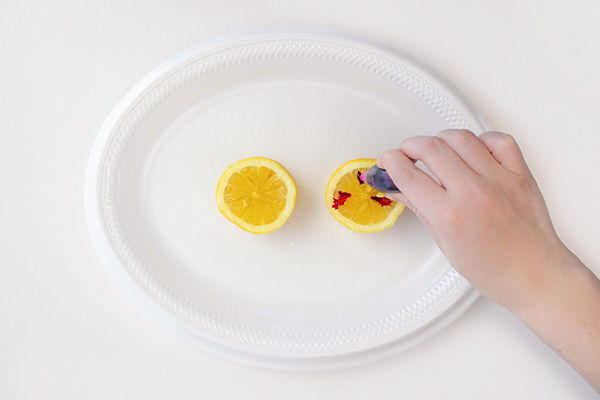
5. Pour a healthy drizzle of dishwasher liquid over each of the lemon halves.
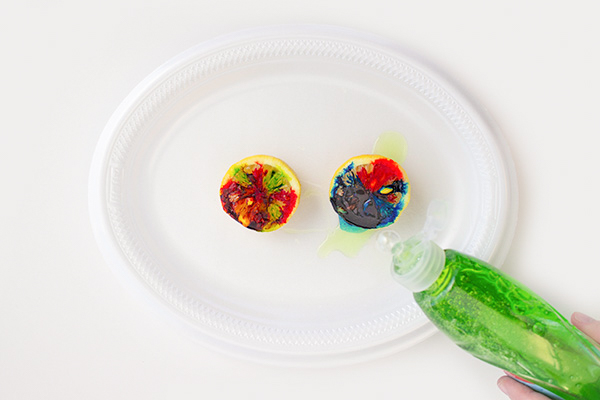
6. Next, pour about a tablespoon of baking soda over each of the lemon halves.
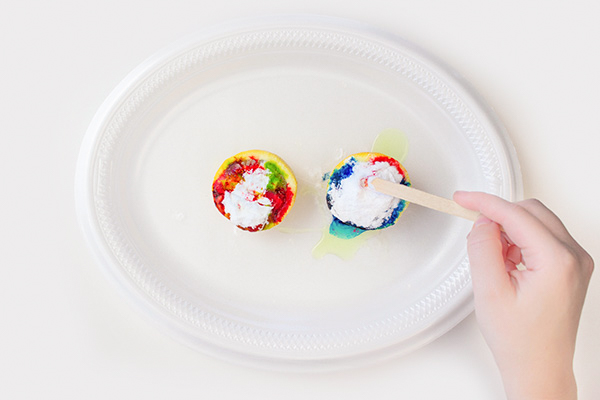
7. Begin to pat down the baking soda into the lemon. You will also want to squeeze some additional lemon juice over top this mixture.


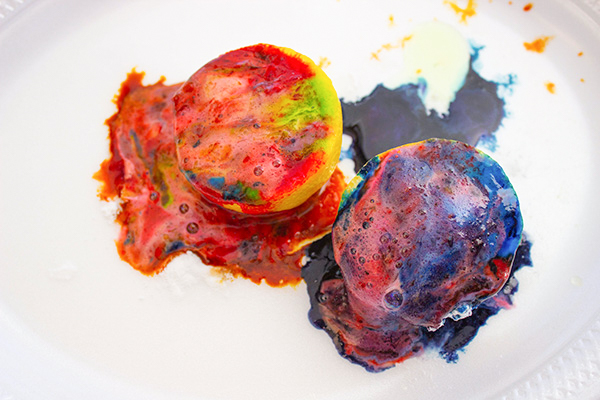
8. It takes a second, but your lemon volcano should start erupting!
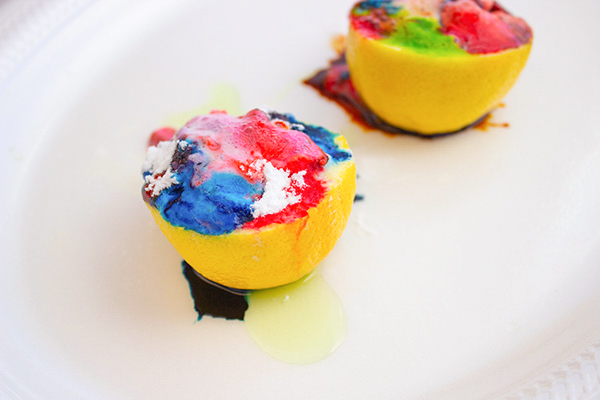

9. We did different colors on each lemon to see how different colors reacted on each of our lemons. Voilà! A cool, zesty smelling volcano!

Skittles Melting Magic
This is a very simple science experiment to try out with your children. As an added bonus, you will have lots of Skittles left over for snacking!
Messiness Level: High
Difficultly Level: Easy
What You’ll Need:
- Cup of warm water
- Bag of Skittles
- Plate with sides
1. All you will need to start is a cup of water and Skittles.
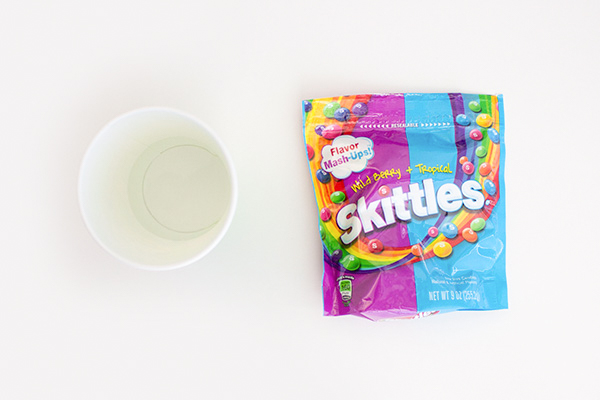

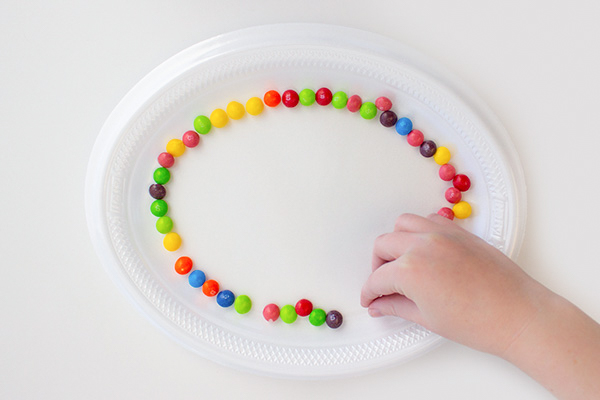
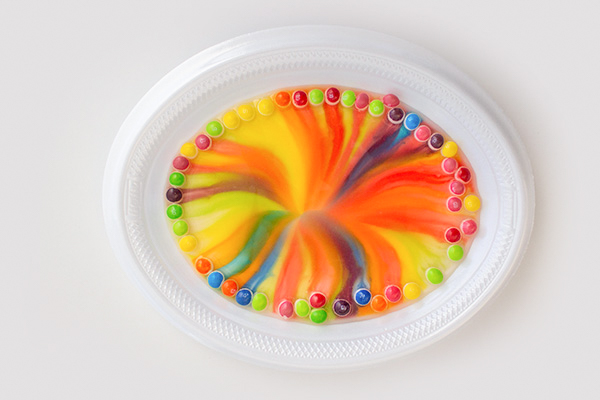
2. Place your skittles in a pattern around the perimeter of your plate.

3. Slowly pour the water over your Skittles. You will immediately see some of the color move.
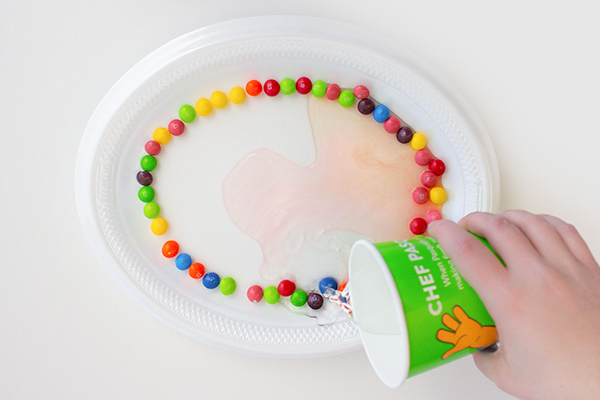

4. Watch the transformation for a few minutes.
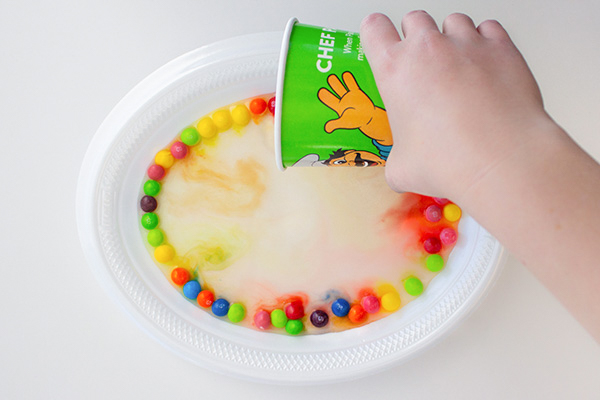

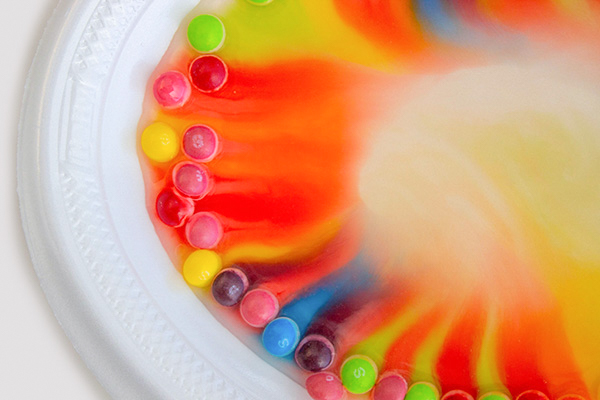
5. Admire your masterpiece! This science experiment is really that simple. The color should end up forming a cool rainbow pattern masterpiece on the plate.


Fluffy Slime
Making slime is every kid’s favorite activity. Fluffy slime is a fun new twist on this! The shaving cream in the slime makes it extra puffy and fun, and leaves your hands with a fresh scent. We played around with the recipe, and found the key is to make sure you get the ratio correct on each ingredient to avoid sticky slime.
Messiness Level: High
Difficultly Level: More challenging

What You’ll Need:
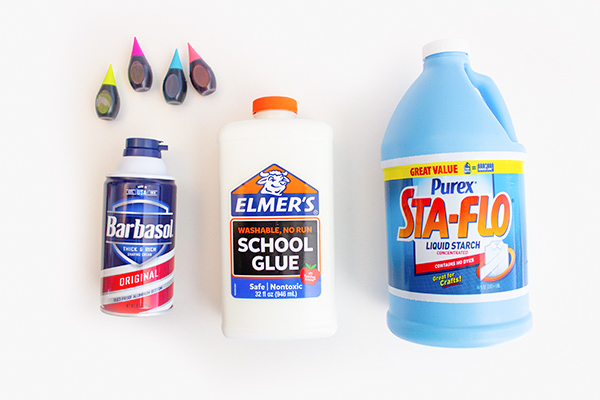
- Barbasol white shaving cream
- Large container
- Sta-Flo laundry starch
- Measuring cup
- Food coloring
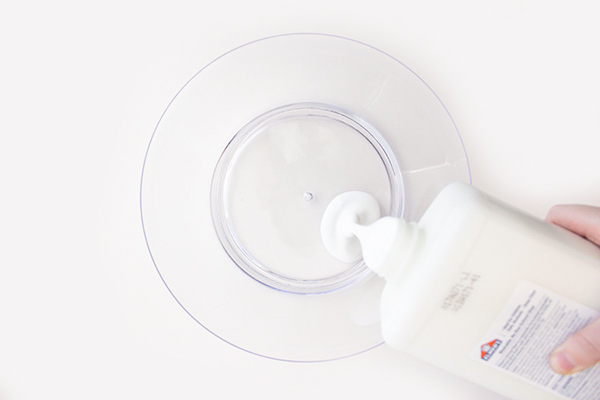
1. Gather all of your ingredients, and start out with your large bowl. Add 8 oz of Elmer’s glue to the container.

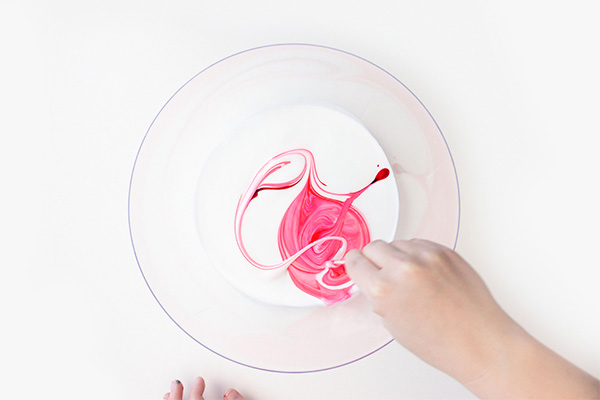
2. Drop in whatever food coloring you would like.
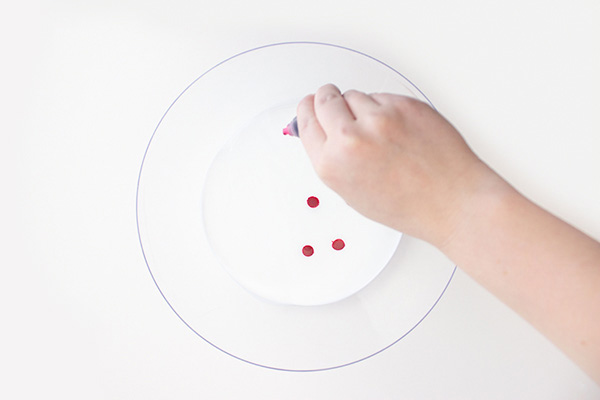

3. Stir in the food coloring and decide if you like the color. It will lighten a lot once the other ingredients are added in.

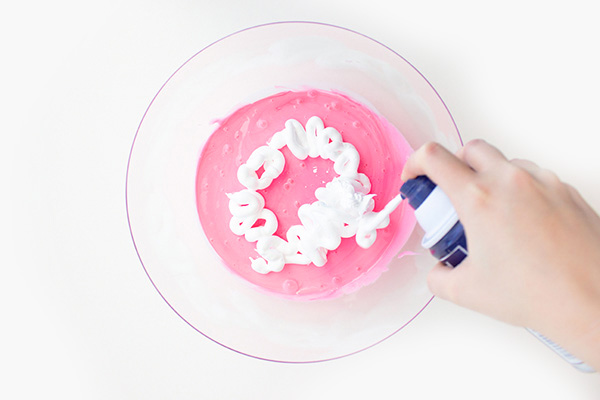
4. Next, add two cups of shaving cream to the glue mixture and stir it in. Make sure the ingredients are fully incorporated.

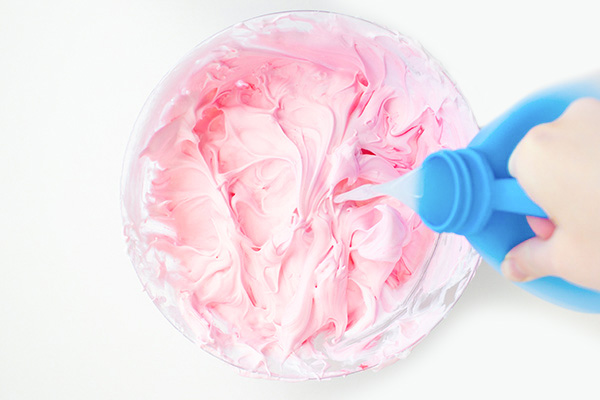
5. Pour half a cup of laundry starch into this mixture and stir. At this point, we felt it was easiest to mix in with your hands.

6. Keep the mixture moving, and after a few minutes it should not be sticky to the touch and should be a more solid mass of slime.
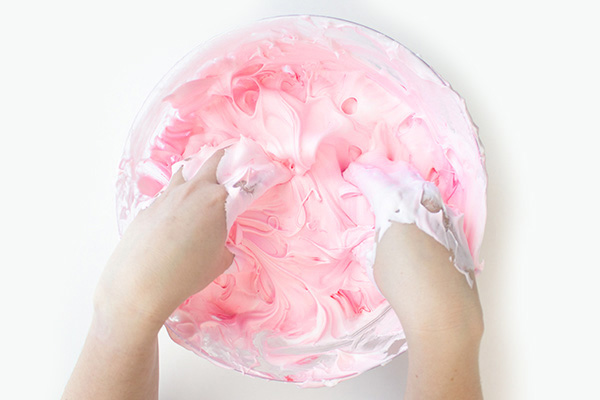

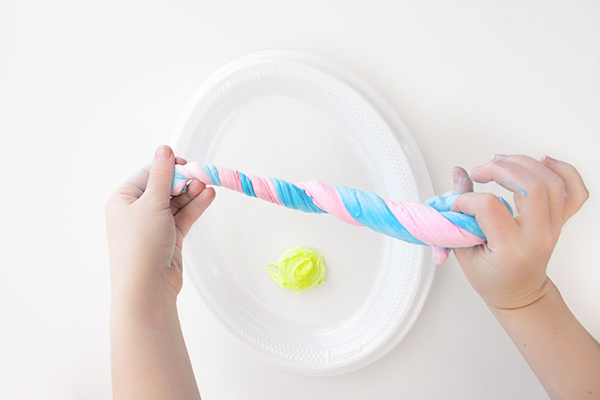
7. The slime should be easy to mold and play with. Now it’s ready for slime time! Feel free to repeat these steps with different colors to achieve a rainbow of fluffy slime! We thought the pink and blue mixture looked like a unicorn horn.
